WSL运行Chrome Headless模式
前言
Google Chrome早就支持了headless模式,但一般都是在Linux上运行,而我则习惯于在WSL上开发,折腾了好久终于找到了可以在WSL上跑headless模式的方法。
以下以WSL中安装的是Ubuntu 18.04系统为例。
常见安装方法
安装依赖库
1 | $ sudo apt install gconf-service libasound2 libatk1.0-0 libc6 libcairo2 libcups2 libdbus-1-3 libexpat1 libfontconfig1 libgcc1 libgconf-2-4 libgdk-pixbuf2.0-0 libglib2.0-0 libgtk-3-0 libnspr4 libpango-1.0-0 libpangocairo-1.0-0 libstdc++6 libx11-6 libx11-xcb1 libxcb1 libxcomposite1 libxcursor1 libxdamage1 libxext6 libxfixes3 libxi6 libxrandr2 libxrender1 libxss1 libxtst6 ca-certificates fonts-liberation libappindicator3-1 libnss3 lsb-release xdg-utils |
安装Chrome
1 | $ wget https://dl.google.com/linux/direct/google-chrome-stable_current_amd64.deb |
使用Chrome Headless访问网页
使用 官方文档的方法打开Chrome:
1 | $ google-chrome --headless --disable-gpu --screenshot https://www.baidu.com/ |
出现如下报错信息:
1 | Failed to move to new namespace: PID namespaces supported, Network namespace supported, but failed: errno = Permission denied |
使用如下命令行也不行:
1 | $ google-chrome --no-sandbox --headless --no-gpu --disable-setuid-sandbox --screenshot http://www.baidu.com/ |
增加--single-process参数后打印如下信息:
1 | [0829/141145.431580:ERROR:browser_main_loop.cc(584)] Failed to put Xlib into threaded mode. |
虽然看起来有报错,但是的确生成网页截图了。
screenshot.png显示如下:
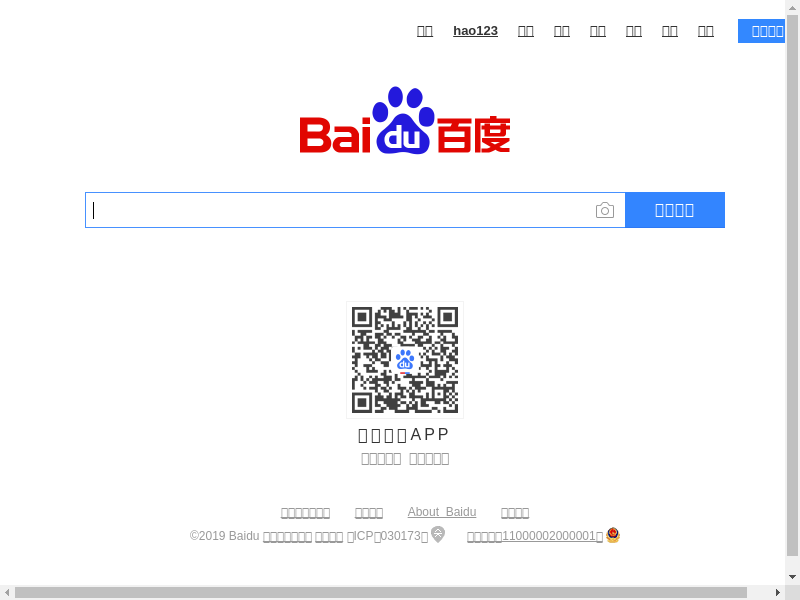
看起来有两个问题:
- 中文没有正确显示
- 窗口大小偏小
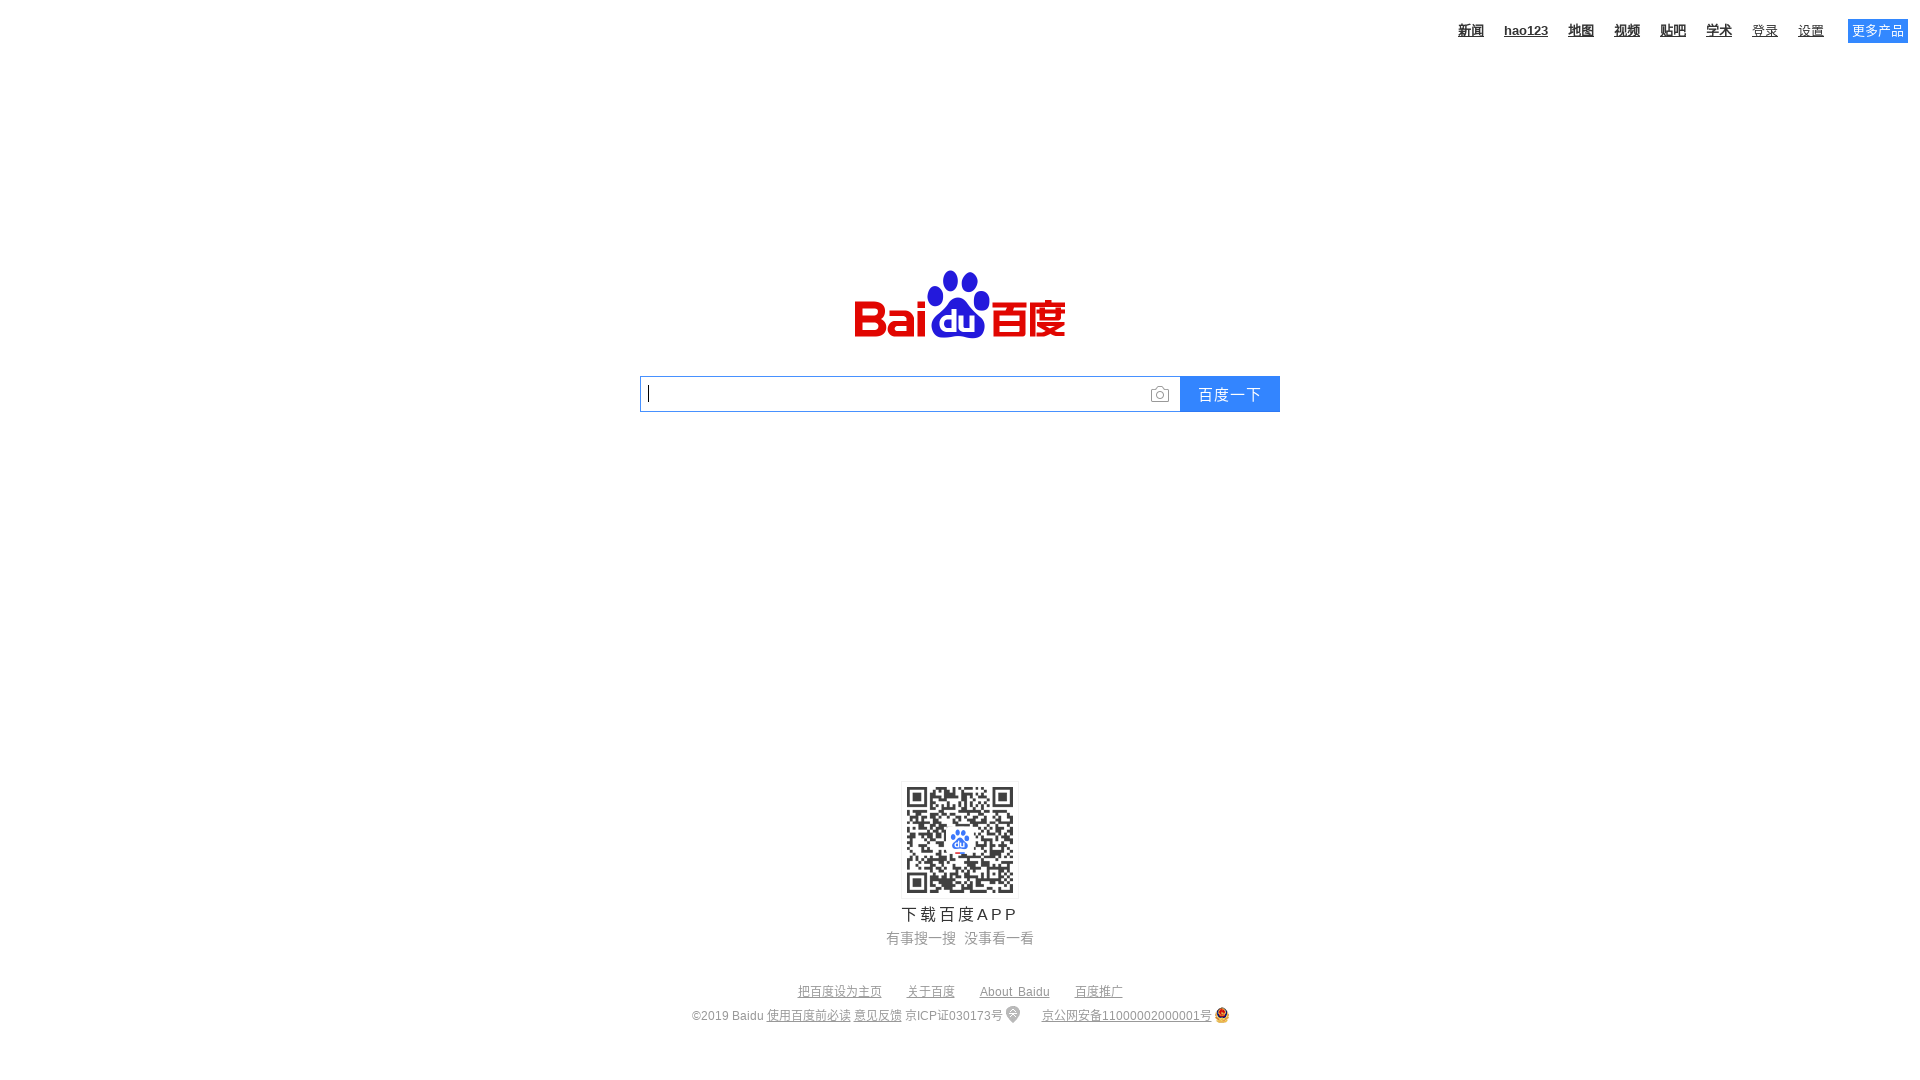
中文显示的问题可以通过以下命令解决:
1 | $ sudo apt install fonts-noto-cjk |
修改窗口大小可以通过增加--window-size=1920,1080参数进行修改。
开启远程调试
Headless模式下一般需要通过Chrome远程调试协议进行访问。
命令行增加--remote-debugging-port=9200参数启动Chrome后,打印出以下信息:
1 | [0829/194236.072838:ERROR:browser_main_loop.cc(584)] Failed to put Xlib into threaded mode. |
看起来调试端口是启动成功了。
但是在访问调试页面后,Chrome进程Crash了。
1 | Segmentation fault (core dumped) |
试了多个页面后发现,远程调试都会导致Crash,看来这条路不太好走。
使用puppeteer提供的Chrome
无意中发现,puppeteer中提供的Chrome竟然可以在WSL中开启调试端口并正常访问。
puppeteer默认下载地址的格式为:https://storage.googleapis.com/chromium-browser-snapshots/${platform}/${revision}/chrome-${revision}.zip。例如目前Linux上最新版本的URL为:https://storage.googleapis.com/chromium-browser-snapshots/Linux_x64/674921/chrome-linux.zip
也可以使用镜像网站下载,例如:https://npm.taobao.org/mirrors/chromium-browser-snapshots/。
解压出来就可以直接用了。
总结
- 安装依赖库,包括中文字体库
- 使用puppeteer提供的Chrome版本
- 完整的启动命令行:
chrome --no-sandbox --headless --no-gpu --disable-setuid-sandbox --single-process --window-size=1920,1080 --screenshot --remote-debugging-port=9200 http://www.baidu.com/
顺便提供一下puppeteer使用的完整命令行:
1 | chrome --disable-background-networking --enable-features=NetworkService,NetworkServiceInProcess --disable-background-timer-throttling --disable-backgrounding-occluded-windows --disable-breakpad --disable-client-side-phishing-detection --disable-component-extensions-with-background-pages --disable-default-apps --disable-dev-shm-usage --disable-extensions --disable-features=site-per-process,TranslateUI,BlinkGenPropertyTrees --disable-hang-monitor --disable-ipc-flooding-protection --disable-popup-blocking --disable-prompt-on-repost --disable-renderer-backgrounding --disable-sync --force-color-profile=srgb --metrics-recording-only --no-first-run --enable-automation --password-store=basic --use-mock-keychain --headless --hide-scrollbars --mute-audio about:blank --no-sandbox --disable-setuid-sandbox --remote-debugging-port=0 --user-data-dir=/tmp/puppeteer_dev_profile-NkEdQ6 |
创建Python3虚拟环境失败问题跟进
0x00 问题描述
今天在Win10上遇到一个很诡异的问题,使用python3的virtualenv创建虚拟环境失败,报错如下:
1 | Using base prefix 'c:\\users\\xxx\\appdata\\local\\programs\\python\\python37' |
同时还会有如下弹窗:
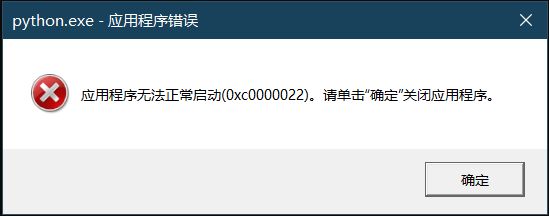
定位原因
根据错误信息在网上寻找解决方法,有说是pythonxx.dll有问题,还有说是权限问题,但试了下都没法解决这个问题。因此,只能尝试在本地寻找复现规律。
发现将python3.exe复制到其它路径后都无法运行,报错与创建虚拟环境一致;而在另一台Win10机器上却没有这个问题。所以,看来原因应该是python环境有问题,但为什么默认路径运行却是正常的呢?
一开始以为是python37.dll的问题,但是很快又排除了。此时,发现python3安装目录下有个vcruntime140.dll文件,而这个文件是不会被复制到虚拟环境中的,难道是这个dll的问题?
将这个dll拷贝到虚拟环境目录后,果然python可以正常运行了。
因此确定,就是vcruntime140.dll这个文件的锅了。
终极解决方案
但是其它Win10上没有拷贝这个dll,也是正常的啊。所以,还需要进一步寻找原因。
接着,将正常电脑上python安装目录里的vcruntime140.dll文件删掉,运行python,也是正常的。使用procexp查看加载的dll,发现原来python会从C:\Windows\system32目录下加载该dll。
在有问题的电脑上看了下该目录,文件也是存在的啊,那是怎么回事呢?
右键查看文件属性,终于发现了根本原因,原来文件的权限设置有问题,估计这个dll是在入域前装上去的,导致只能在管理员权限下访问。
修改文件权限后,一切都正常了。
总结
根据程序的报错信息不一定能正确地找到解决问题的方法,有时还是需要进一步跟踪调试,才能找到问题的真正原因。